Basic Hairstyling Techniques - Basic Beauty Tips For Hair
Basic Hairstyling Techniques - Basic Beauty Tips For Hair
💥Teasing
Before I start every style I tease my hair. It makes a huge difference in the volume and also adds grip and texture to help hold some of the styles. It is so very important, please do not skip this first step!Any type of comb will do. I really like the classic rattail combs and also boar teasing combs. You can pick either up at most grocery and beauty supply stores.
Step 1: Gather the section of hair you want teased. I usually start from the back and work my way around to the front. Take your comb and place it 4 or 5 inches away from your scalp. Then you’re going to pull the comb down toward your scalp, creating a whole bunch of knots and snarls.
Step 2: Next spray your snarls with your favorite hair-spray. Mine is the Kenra 25 super-hold finishing
spray.
Step 3 Take your comb and softly brush out some of the noticeable snarls. Make sure you don’t brush out all the snarls you’ve just created, just the ones on top peeking through.
Step 4: Work your way around to the front. Keep combing through those noticeable snarls.
There is a very fine line between teasing just enough and teasing too much. The goal is to add a lit tle bit of volume and texture. You want to maintain your head shape, and you want it to look natural. You definitely do not want snarls peeking through. Even if you end up brushing out most of the snarls, roughing up and spraying those strands will really make a difference!
Blow Drying Hair Tips
There are many different ways to blow-dry your hair, and this is simply what works for me. I don’t like to flip my head upside down because I find I get more flyaways near my part when I do. Before you begin blow-drying, towel dry your hair, comb through it, and apply your product or root lift if needed.
1. Start by blowing out your bangs. If you swoop your bangs, dry them the opposite way they lie and it will ensure you get the perfect swoop.
2. Once your bangs are completely dry, go onto drying the rest of your roots.
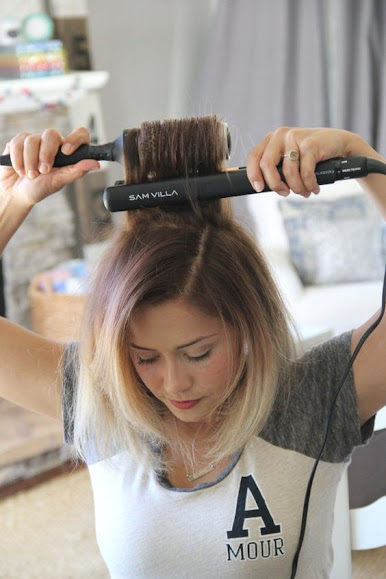
3. Next take a paddle brush or round brush, whichever you prefer, and brush out the rest of your hair as you blow it dry. Getting a good blow out is very important. Do your best to get your hair as smooth as pos sible while you’re blowing it dry. You want to avoid any touch-up’s with the straightener as that direct heat is much harsher on your hair.
Pancaking
This is a term I will use often, and it basically means to spread out and flatten a braid. Doing this will make your braid look fuller and add great texture.
Creating a Simple Half-Up and Sliding in a Bobby Pin
This technique is used throughout the book. You’re basically folding the hair over itself and pinning the outside pieces of hair. I started this style by curling my hair with a 1-inch wand. (Read more)
Step 1: Start by teasing your roots and combing through the snarls. Using your index fingers, loosely pull back the top layers of hair. You only want the very top layers; if you pull all the thickness back, the bobby pins will not hold.
Step 2–5: You are basically going to fold the hair over itself. Combine the hair into your dominant hand, and with your non-dominant hand start folding the hair over.
(Step 2)
(Step 3)
(Step 4)
💡 Tips:
If one bobby pin doesn’t hold the style, go ahead and use a couple more. I like to bring a little bit more hair over from the side and add it to the fold before I pin. If the pins aren’t holding the style, make sure you’re using sturdy bobby pins and you’re not ask ing the pins to hold too much! You’re just pinning those very top layers of hair. Be sure to buy high-quality bobby pins. They make a huge difference! I buy my bobby pins from Sally Beauty Supply, and they are super strong. I’ve never had a bobby pin fold in on me, and they grip the hair better than the cheap ones. So before you get frustrated with yourself for not being able to slide in a bobby pin, make sure you’ve got the right bobby pins for the job!


Post a Comment